Wiki / How it is played
The chart, warp and jump
The map is honest - a threat band says what a place costs, a shut door says what the key is, a warp stays at your star, a jump crosses lanes, and both start with a wind-up somebody can shoot at.
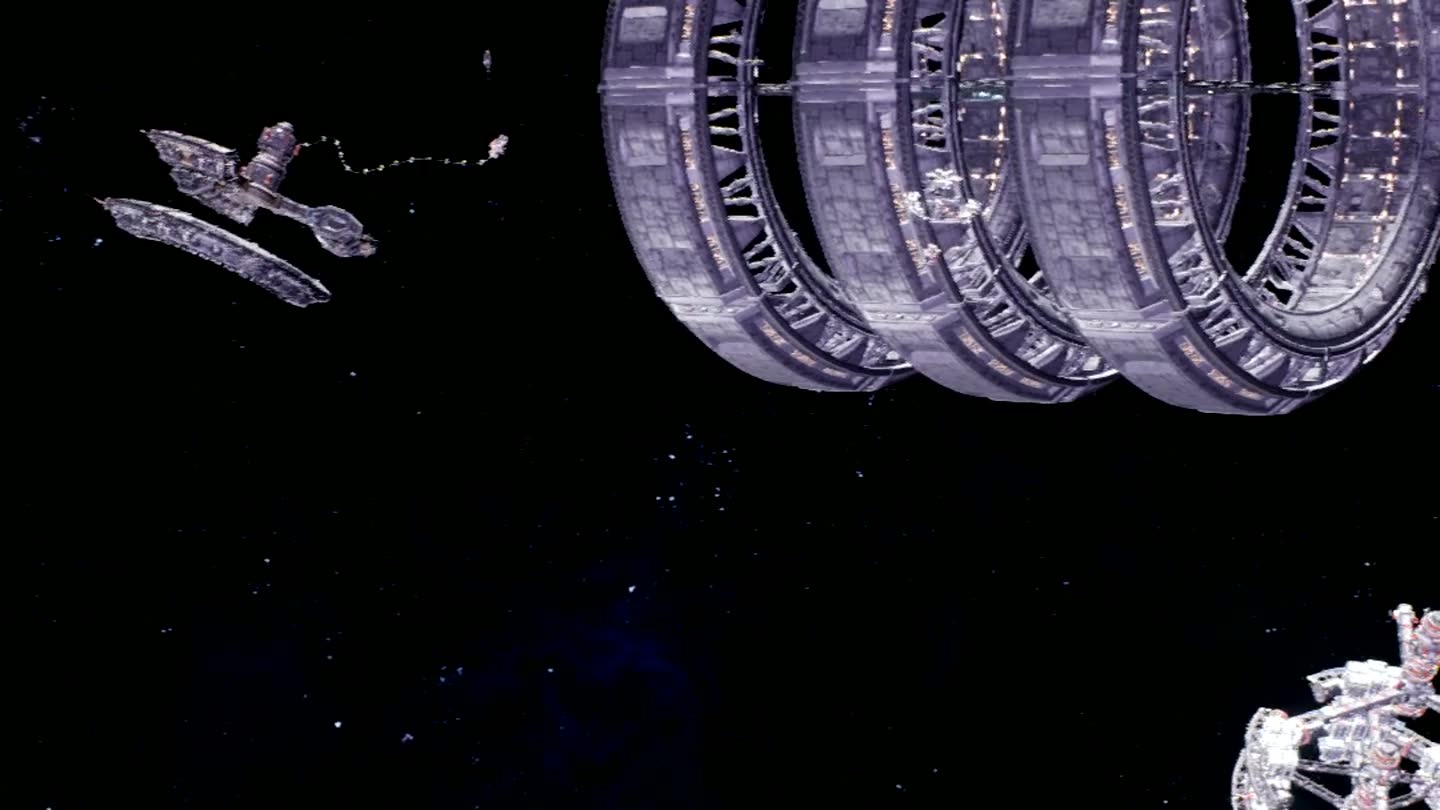
M opens the chart. It has two layers.
- The arm - The Kindling: fourteen stars and the lanes between them. Pick a star and the route card prices the trip: JUMPS, DISTANCE in light years, LANES spent out of what the hull holds, TIME, and THE WAY - how many presses of J it takes, each leg with its own clock (JUMP 23 S · 1 LANE). The card carries one verb - WARP, JUMP, YOU ARE HERE, or why not - and it is lit only when a press would go. Drag to pan, right-drag to turn, Home to lie it flat.
- The system - the star you are in: its bodies on their orbits, marked in AU, the sites (zones) on each body, and a jump point for every lane, named for the star it leads to. Click a site to set a course; click a body for its panel - its sites, who holds each this week, its well; double-click or wheel in to close in on a body; right-click or wheel out to go back up. A moon or a bare body that no site stands on reads SCENERY and takes no course.
The wheel is one zoom from the arm down to a body: on in over a star and you are in its system, out far enough and you are back on the arm. Tab switches between the arm and the system you are in, and / searches the chart - systems (by a home’s name too), sites, bodies, stations and wingmates.
Enter sets the course and the chart stays open, the card reading COURSE SET · [J] WARP (or JUMP); J goes from there. A course can also be taken off the sky in flight: aim at a star or a site, T, then Enter - the HUD. Fifty-three zones on fourteen stars: the zones, the stars.
The map is honest
- Threat bands say what a place costs before you pay it. Ten bands. A Compact’s own spine runs 1 to 6; the common ladder out of the middle runs 5 to 10. The higher the band, the bigger the patrol and the better what it drops.
- A shut door says what the key is. A locked zone carries its reason; there are no invisible walls.
- Depth, not rules, protects beginners. Your colony’s Shallows orbits your home’s own world, behind six rungs of your own empire, and is never a battlefield; PvP lives in the sectors.
What the arm shows without a click:
- Where you can go today. Every star one chain of J reaches is ringed, with a REACH TODAY · n key, and two outlines show what one press crosses (ONE PRESS · 2 LANES) and what the warp tank holds (WARP TANK · 5 LANES).
- Why a star is shut, under its name: CLOSED · SEPULCHRE GROUND, CLOSED · A BORDER, CLOSED · RANK 15, CLOSED · NO FRONT YET, CLOSED · GATE FULL - or BEYOND SHUT CURFEW on an open star that every way to passes a shut one.
- Five layers, as chips at the top right, all on until you turn one off, and remembered: TERRITORY (the Compacts’ colours), WAR (fronts, taken sites, the week’s fighting), WING (your wing’s pips and its mark), STATIONS (the Docket’s station) and PEOPLE (how busy each system is, counted each minute - PILOTS · 2 ACTIVE · 1 BUSY).
The locks
| The chart says | Why | The key |
|---|---|---|
| another Compact’s writ | somebody else’s territory | a war week and a front: a foreign empire’s first two rungs (its frontier, depths 1–2) are open in every week but the Slack; each deeper rung only to a Compact holding the rung before it |
| no writ past the front | a foreign rung the campaign has not reached | win the rung in front - dominion |
| ungraded past rank N | the sector’s patrols outrank you | level (threat − 1) × 5: threat 2 asks 5, threat 6 asks 25, threat 10 asks 45 - ranks |
| No seat left at … for your Compact | a besieged home already holds all the seats your Compact gets | wait for one to free |
| transit | a foreign Shallows in a siege window | you may cross; nobody fires either way |
Compact before level, on purpose: a pilot refused for both is told the one they can fix by playing.
Warp and jump
One key, two verbs.
- A warp stays inside the star system - from a site on one body to a site on another. It is priced in AU, spends nothing from the warp tank, and no drive level limits it.
- A jump leaves the star along its lanes. It is priced in light years, spends one lane from the tank for every lane it crosses, and must fit inside the drive’s reach.
Both come in two halves, and only one of them is nowhere.
- Wind-up, 8 seconds (CASTING), in the zone you are leaving: at a position, visible, and it can be shot. Sustained fire rewinds it at twice real time; stop shooting and it runs again. The drive will not start within 8 seconds of a combat hit - a rock does not count - so a fight cannot end with the loser vanishing. A jump’s lanes are spent at the press; docking or dying ends a wind-up, and nothing else calls it back.
- The tunnel. A warp: 6 seconds plus 0.8 a second per AU, capped at 15. A jump: 5 seconds plus 2 per light year crossed, never under 15 - every single lane is a 15 to 25 second tunnel. A jump across several lanes is one wind-up and one tunnel. In the tunnel you are nowhere: nothing can see you, hit you or lock you. The chart and the hold are readable, the wing channel is open, zone chat is not, nothing can be refitted, and it cannot be cancelled.
The tank and the reach
The warp tank is a hull stat, counted in lanes; the reach is the drive’s level.
| Platform | Warp tank (lanes) |
|---|---|
| Fighter | 5 |
| Corvette, Frigate | 4 |
| Hauler | 3 |
| Capital | 2 |
| any courier or prospector hull | +2 |
| Drive level | 1 | 2 | 3 | 4 | 5 |
|---|---|---|---|---|---|
| Most lanes in one jump | 1 | 2 | 3 | 4 | 7 |
One lane is the next star; three is home to the Cinder; four is the Cinder to the far end of the ladder; seven is the whole arm. What a hull can actually do is the smaller of the two, and the chart’s entry line says which one caps it - open · 2/4 lanes · reach 3, or … and the hull is what caps it. A longer route is simply more presses of J; the lanes it spends are the same either way.
A refused jump says how far and what answers it: drive II falls short, drive III reaches - your Citadel sells it (or a Shipyard sells it); this hull holds 3 lanes between quays, full - no rung and no quay makes it more; or, when you are only low, any quay gives them all back, free.
Any berth fills the tank - full, free, at once, at any station of any Compact that will take you; a Sentinel’s berth or a Compact Shipyard’s takes only its own Compact’s pilots. Nothing fills it on a clock. And the navigation computer always keeps a return solution: home runs free - a jump to your own home spends nothing and ignores the reach.
The edge
A zone has a wall. At 3 km from it the nav rail grows an EDGE row - the distance to the line and the name of what lies across it, or open space. In the last 1 km the outward speed is taken away, and the ship is held at the line with its heading kept. The frame for a door rises in that last kilometre, or sooner - up to 3 km out - when the wall is less than six seconds away at your speed, and it names the door your straight line will actually meet: turn, and it asks again. Past the wall is one of three things.
- A seam - another place around the same body. You fly across into it, arriving on its near side with your speed kept: no lane, no tunnel, no wind-up. The two zones sharing a depth on a spine share a body (Long Watch and Iron Shoal, Belt and Overcut, Cutwater and the Hangfire), and so do the four rooms around the Cinder.
- A door - anywhere else. A frame at the top of the screen names it (THRESHOLD, BORDER or FRONT), prices it - AU and TANK UNTOUCHED for a warp, LY and SPENDS n OF m LANES for a jump, HOME RUNS FREE - and shows [J] WARP or [J] JUMP. Nothing starts without J. A shut door says why: your rank, the owner’s own words, or the drive and its remedy.
- Nothing - nothing that way - the chart ends here.
Territory
Space is somebody’s. A Compact’s colours read at a glance; taking a home is not a button, it is a front six rungs long. What your side holds is exactly what your side can defend. Dominion, siege and the Tithe.